The Settings page is organized into several categories. Below is a general overview of each category, with links to more detailed articles where applicable,
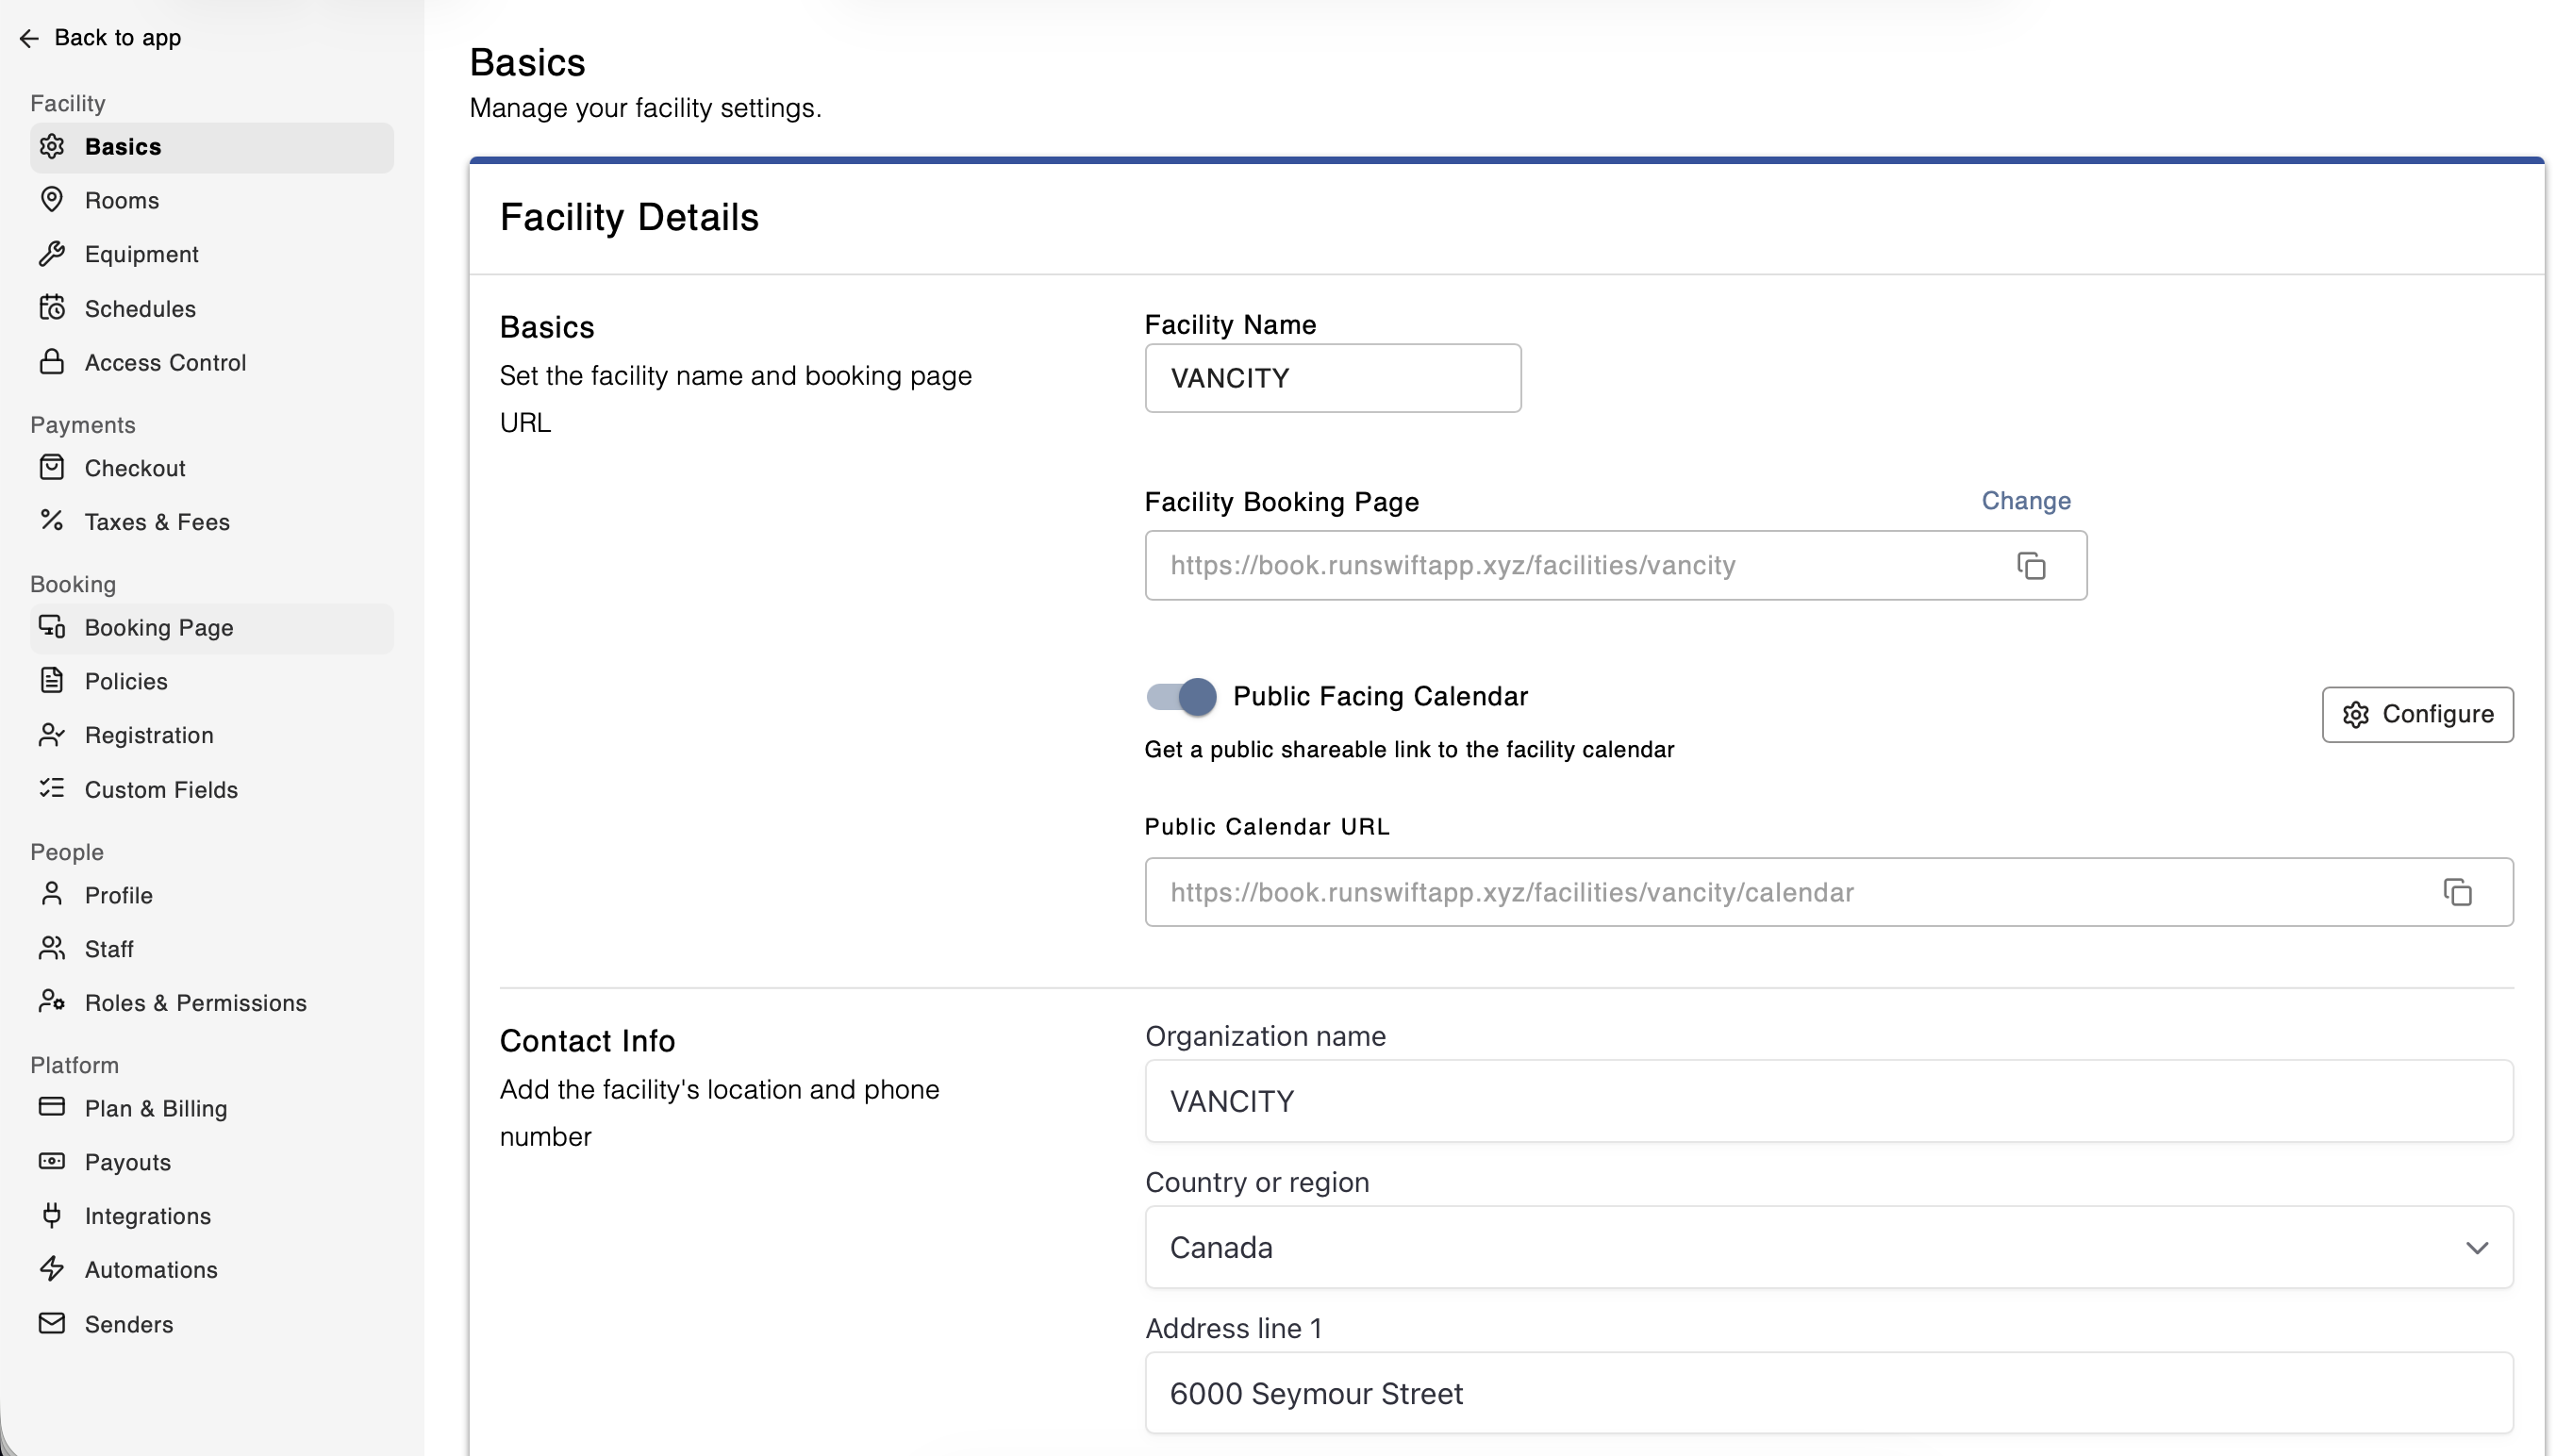
Update your facility’s name, address, contact info, and more. Details added here will appear on your public booking page. You can also access your public calendar URL to share with customers or embed on your website.
Rooms represent the physical spaces in your facility — cages, courts, turfs, lanes, or gym spaces. This is where you'll create the spaces or update the room hierarchy.
Learn how to create and update rooms.
Add and monitor the usage of key equipment at your facility. For example, if you have a Rapsodo device that can be used across multiple cages, you can track where and when it's being used across your facility.
Set your business hours, operating days, and custom schedules for rentals. You can also add date overrides for special holidays or single or multi day closures.
Refer to the Schedules article on how to create a schedule and add a date override.
If you have the Door Lock integration enabled for your facility, you can manage the integration here, as well as locking and unlocking the door.
Manage how your facility's booking page looks and operates from the customer’s point of view.
Customize your facility’s booking page — upload your logo, banner, adjust the order of your services, and add your social media links.
Add your cancellation policy, upload a liability waiver, and enable or disable check-ins.
Choose what contact details and information you would like to collect from customers when they create an account at your facility.
Additional fields of information to collect from customers during registration or event sign-up.
Learn here to learn more about Custom Fields.
Control everything related to how your facility handles transactions.
Choose how you want to accept payments from customers who make a booking online. Also where you go to connect your Stripe card reader terminal to Swift.
Create any applicable tax rates, processing fees, or custom charges that apply to bookings at your facility.
Add and manage your staff, pay rates, roles, and permissions here.
Edit the name and/or email address associated with your own Swift Admin profile.
Add and manage staff members, update details, and include bios or change their email addresses.
More details on creating and editing Staff can be found here.
Set up permissions and access levels for each staff role type.
Manage your account plan, connected apps, and automations.
View and manage your subscription plan and billing information. Update the credit card information that's used to pay for your Swift subscription.
Review and manage your facility’s payout details. Where Stripe processes your payments and how you receive those funds.
Connect Swift with third-party tools your facility uses — Zapier & GiftUp.
Enable and configure automated email and text booking confirmation and reminder notifications
Manage the sender names and email addresses that appear on email blasts that you send to customers.