Swift now supports in-person product sales, allowing you to easily manage and sell items such as merchandise, equipment, food, drinks, and more, all within the platform. Whether you're selling a single item or multiple products, Swift offers a streamlined checkout experience for your customers.
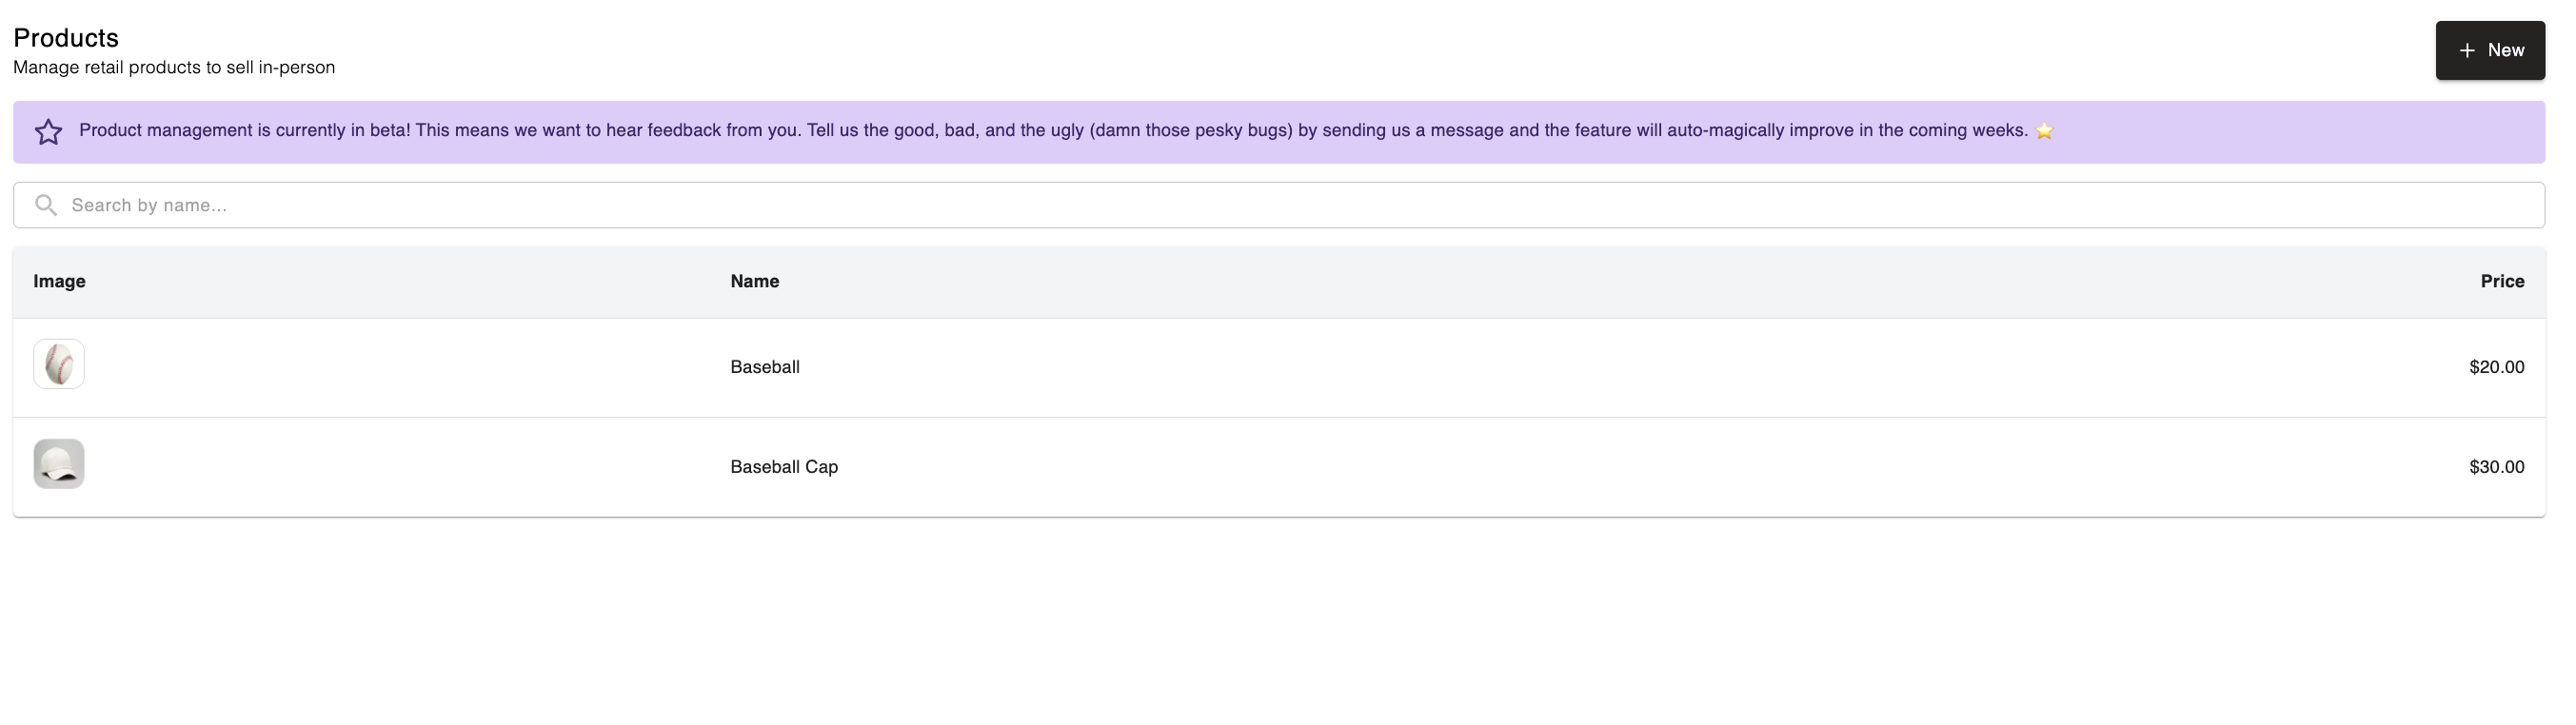
To add and view all the existing products available for sale at your facility, just navigate to Retail > Products in your Admin Dashboard. On the Product page, you can add all the items available for sale at your facility.
To add a new product, click the 'New' button on the top right.
You will land on the "Add Product" form, which is what you'll need to fill in order to create the product.
Here you can set a name for this Product (ex: Baseball Cap), as well as an optional description. Both of these fields are customer-facing, so make sure you set them accordingly.
This is optional, but you can upload a picture of the Product. We recommend a image size of 1024 x 1024 pixels.
In this section, you can enter the amount to charge customers for the item.
Swift gives you the option to track inventory for each product — so you always know how much stock you have on hand.
To enable inventory tracking:
Toggle Track Quantity to ON if you want to manage stock levels
Once enabled, you’ll see options to Add or Remove stock.
Click the Add button.
Enter the quantity you want to add to your inventory.
Click Add Stock to confirm.
Click the Remove button.
Enter the quantity you want to subtract.
Click Remove Stock to confirm.
Once enabled, you’ll be able to add the current stock count and monitor it as sales are made.
A few helpful things to note:
When a product is sold, its quantity will automatically decrease
If you refund a product sale, the quantity will not update automatically — If the item is returned to your inventory, you’ll need to manually add it back using the Add button.
To view all the existing products available for sale at your facility, just navigate to Retail > Products in your Swift Admin Dashboard.