Setting Up and Connecting Swift to Zapier
Zapier is a no-code platform that allows you to connect two (or more) different systems together. You can use Zapier to connect Swift to 6000+ different tools and set up your own custom automations.
Anytime you want to extend Swift's core capabilities, or implement custom automations (welcome emails, text message campaigns, etc.), using our Zapier integration is a great first step.
Example use-cases include:
Sending a welcome email to every new customer by connecting Swift with Mailchimp or Constant Contact
Setting up a remote lock anytime a booking happens by connecting Swift with Brivo
Syncing your Swift customers with a marketing CRM like Zoho and creating an email drip sequence
and much more!
Send a survey from SurveyMonkey to a participant once a class has ended.
The possibilities are endless 🚀
There are two main concepts in Zapier that we need to understand, known as triggers and actions.
A trigger in Zapier is an "event" that's fired everytime a certain "thing" occurs in the software.
For example, for Gmail, examples of triggers include:
A new email: Triggers whenever you receive a new email
A new contact: Triggers whenever a new contact is created
In Swift, examples of triggers can include:
A new customer: Triggers whenever a new customer account is created
A new booking: Triggers whenever a new booking is created
You can set up automations in Zapier (known as Zaps) by "listening" to these triggers, and then performing certain actions.
An action in Zapier is, as the name implies, an action, change, or update in the software.
For example, examples of Gmail actions can include:
Send an email: Write and send a new email from your inbox
Create a new contact: Add a new contact to your list
Similarly, examples of actions in Swift can include:
Create a booking: Create a new event at your facility
Add a customer: Create a new customer account at your facility
By chaining triggers and actions together, you can create a ton of different automations for your business.
At the moment, the following triggers and actions in Swift will show up on Zapier.
customer.created: Triggers when a new customer account is created at your facility. This event will fire regardless of whether the account is created on the booking page, the branded app, or on the admin side.
booking.created: Triggers when a new booking is made at your facility. This event will fire when a booking is created on the Admin side, or when a customer makes a booking themselves.
Note: If you create a booking on the Admin side, the event will still fire but it will not contain the the participant information as participants are added after the booking is created.
booking.updated: Triggers when a booking is updated at your facility. For example, when you change the date of the booking or add a participant to the booking.
booking.deleted: Triggers when a booking is deleted at your facility.
Actions: There are no actions currently supported.
This list is constantly getting updated, so be sure to check it often if there's a specific Swift trigger or action you're looking for. Or reach out to us and let us know!
To get setup, we first need to create your Zapier credentials. This will allow Zapier to authenticate your Swift account, and give it permission to pull data from it.
To do this, visit the Integrations page under Settings. You'll need to be the Owner of the account, or have the appropriate permissions to view this page.
Once you're there, you'll see a button to "Create credentials" in the Zapier card.

Click the button, and your credentials should appear in a few seconds, as shown below.
Once you've created your credentials, you can now visit Zapier to build your first Zap (automation).
Start by creating a free Zapier account, or sign in if you've already set an account up before.

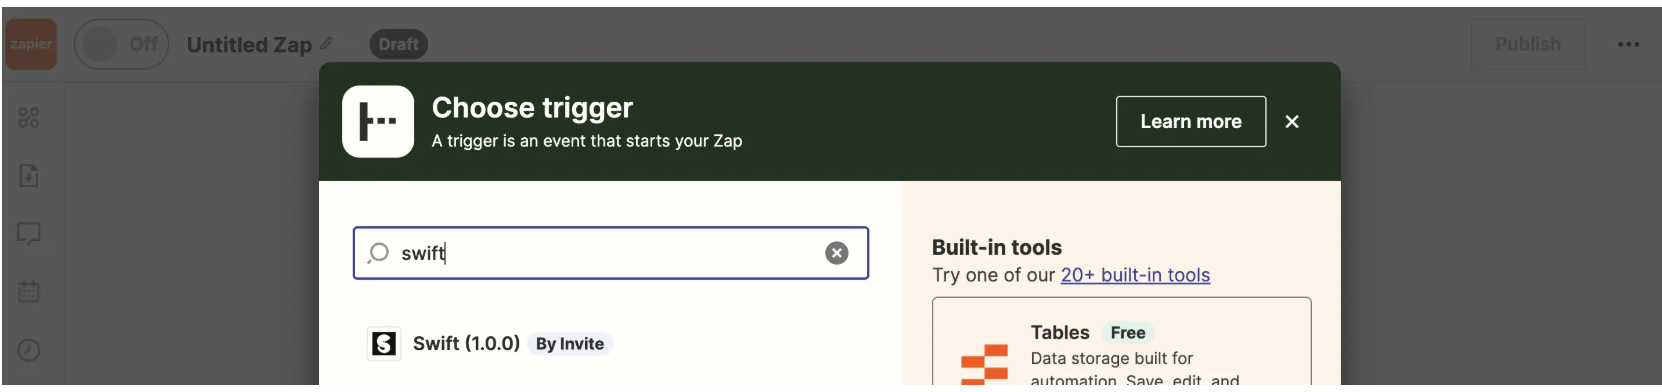
The Swift integration is currently private on Zapier, which means if you search for Swift on their directory - it will not show up.
This will change soon - but until it's publicly listed, you can click on this invite link to access the app.
You'll need to do this to connect to Swift in Zapier!
Zapier Invitation Link
https://zapier.com/developer/public-invite/202796/274c5bab58f3b13cc50d884054922666/
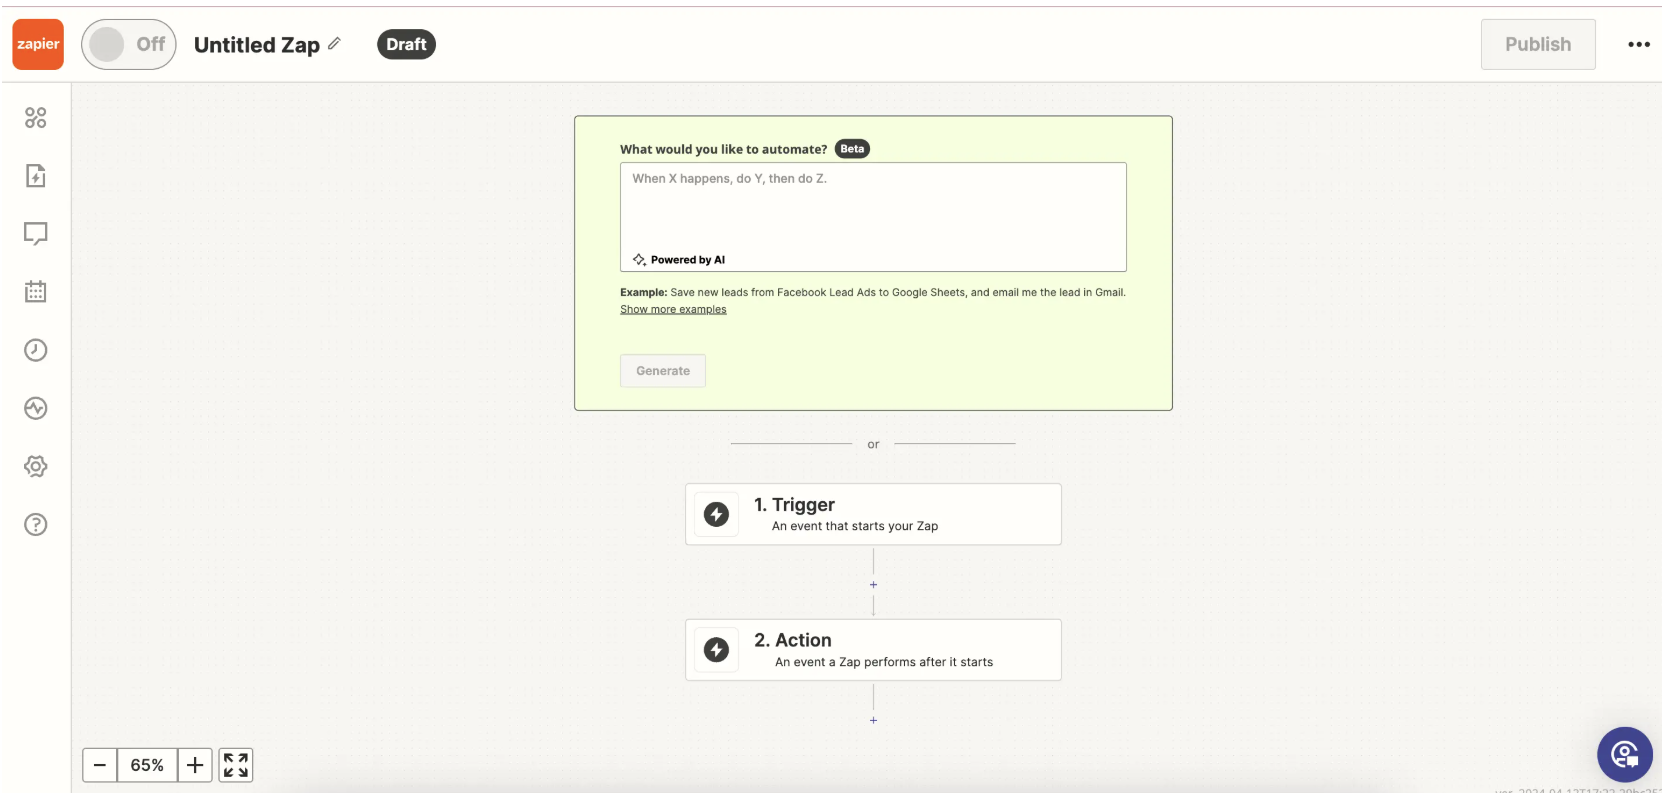
Once you've logged in and accepted the invite, start by clicking the "+ Create" button on the top left, and clicking "Zap".
This will put you in the Zap editor, which is a screen that looks like this:
Start by setting up the trigger, and searching for Swift. You should see it there once you've accepted the invite (see above).
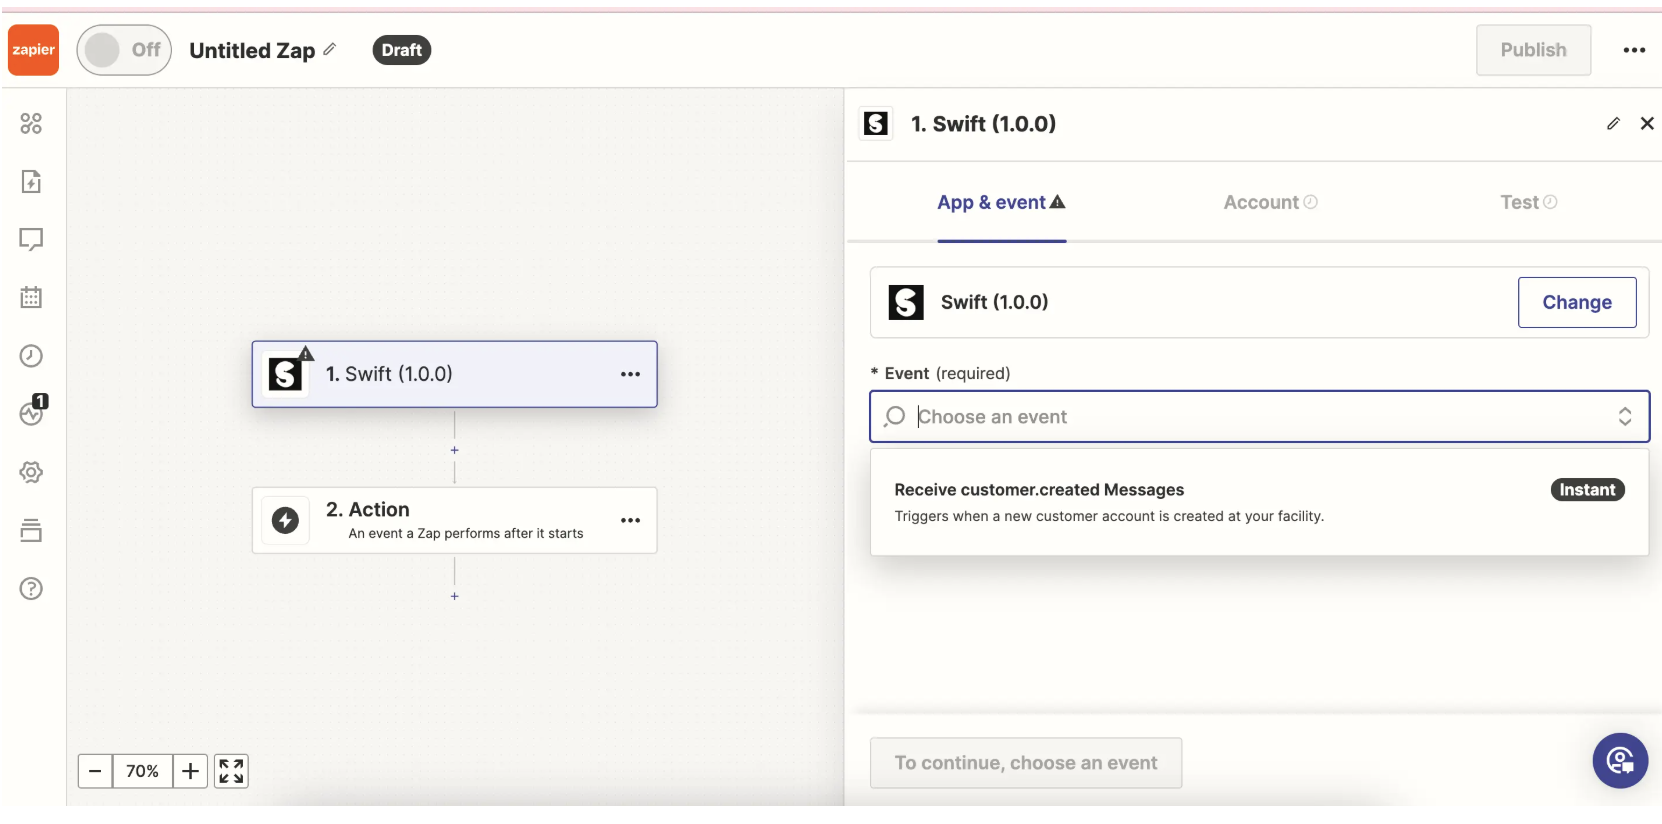
To setup the trigger, we first need to identify which "event" to trigger the Zap on. The list of events shown here will be based on the "Swift Triggers & Actions" list above.
Let's go with the customer.created event as an example,
Then, connect your Swift account to Zapier by entering the two keys ("Application ID" and "Integration Key) shown on the Settings > Integrations page of Swift.
Once the account is connected, an important step is to skip the trigger test. This is important - you'll see an error if you hit "Test" but just ignore it, the zap will work regardless. Skip the test and move on.
Once the trigger has been setup, you can now connect any other platform as the corresponding action! This can be Mailchimp, Gmail, Close, or any one of the other 6000+ tools that Zapier integrates with.
Let your imagination run wild with the automations you'd want to create. Once you're ready, just hit publish and the Zap will be live!
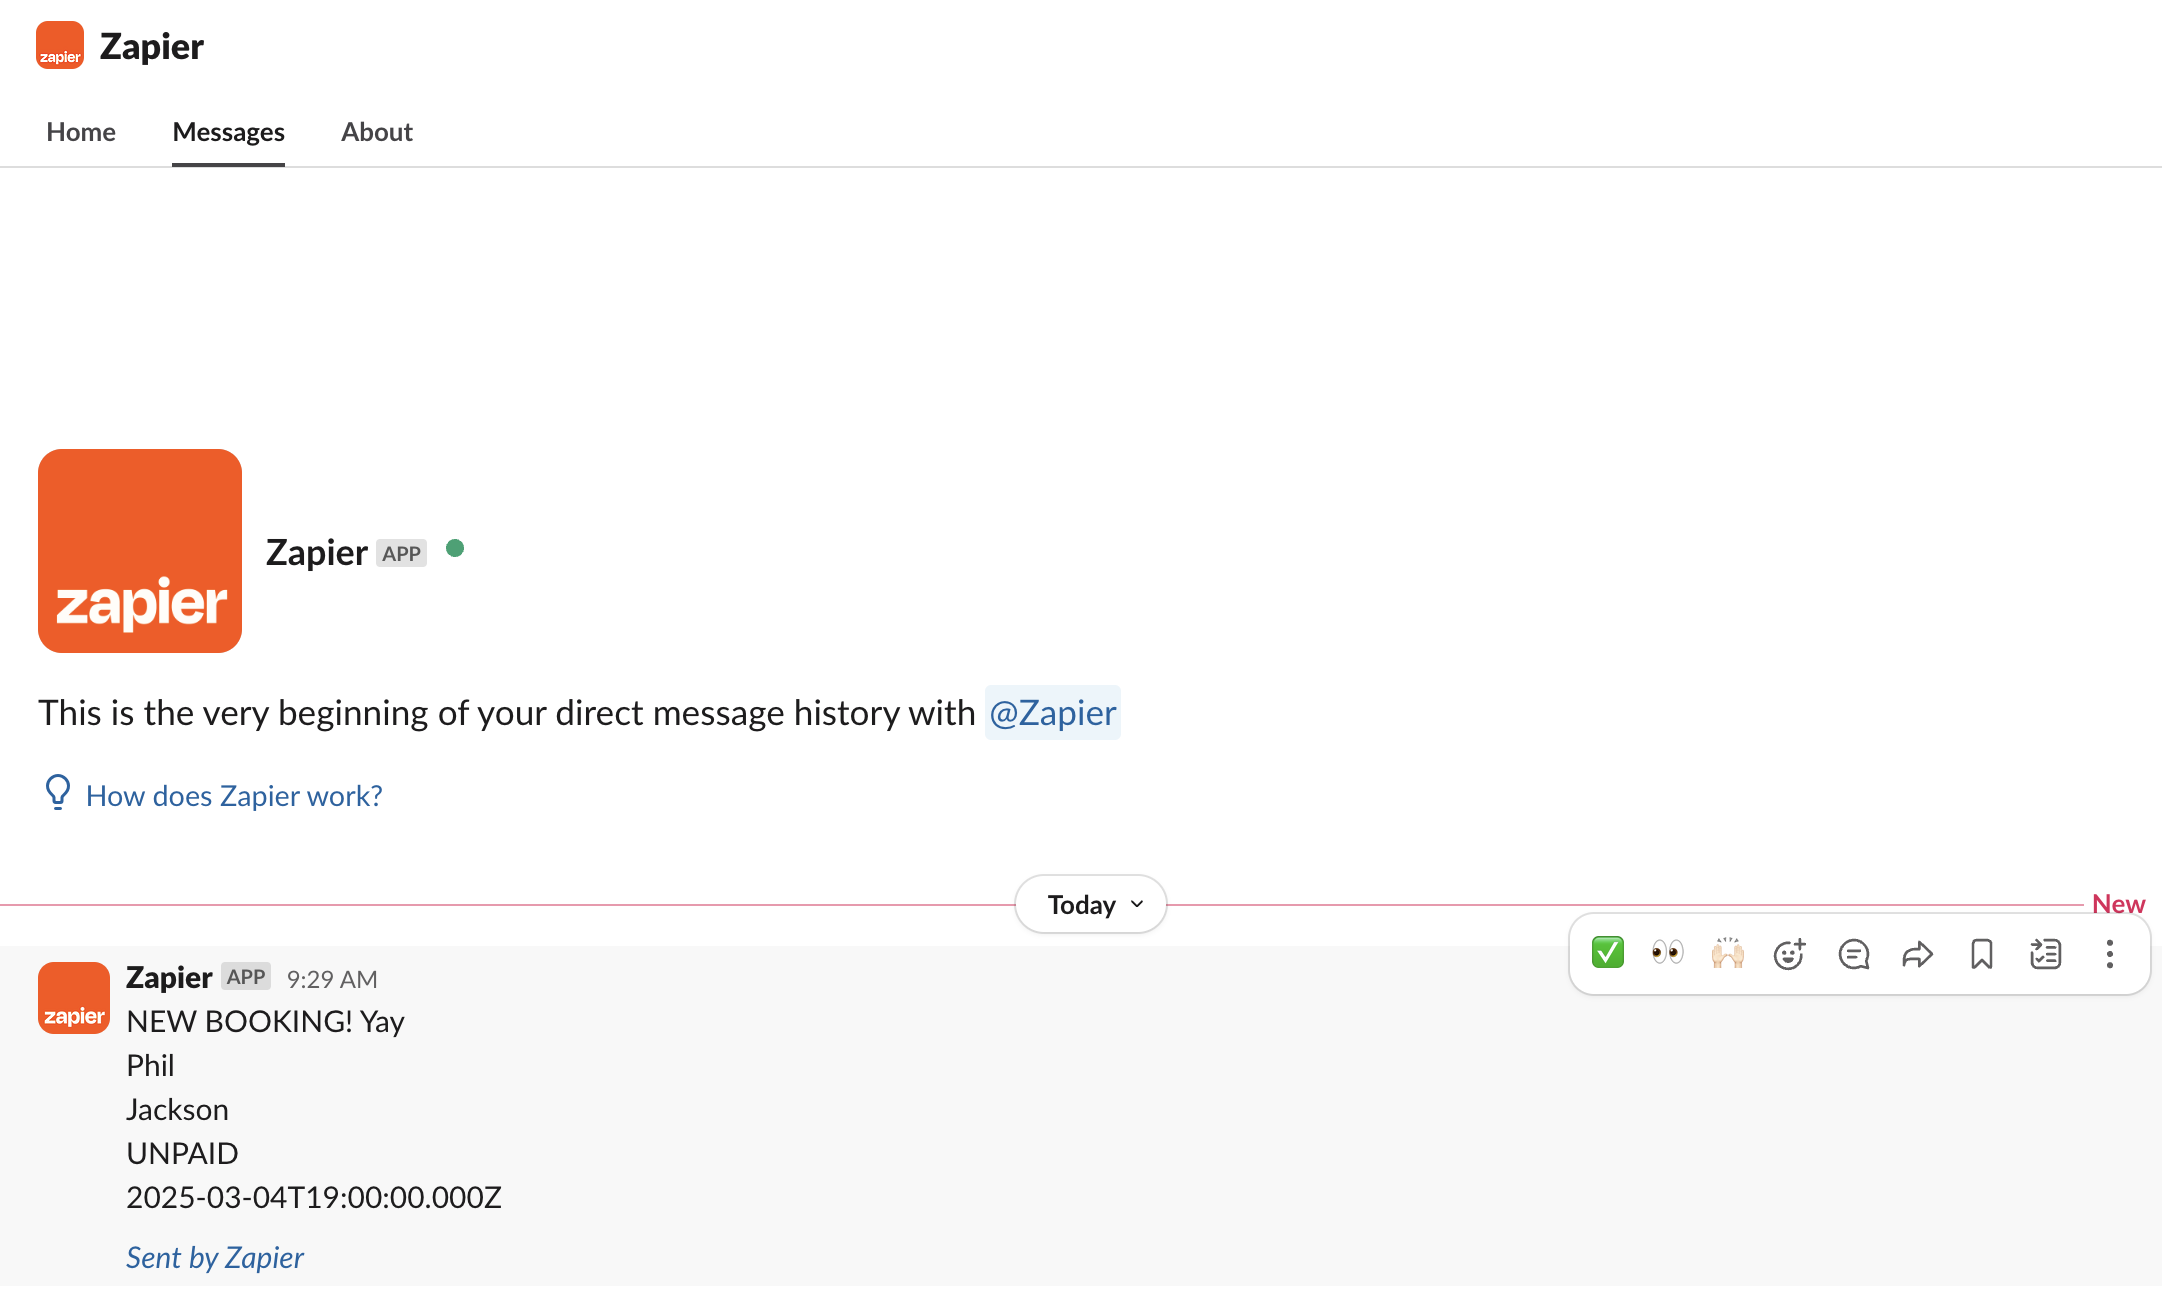
The result,