
Before you can send out Email Blasts, you need to add and enable a verified Sender. This ensures email blasts come from your own domain or email address (not from Swift), and if a customer replies to your email blast, their reply will reach you directly.
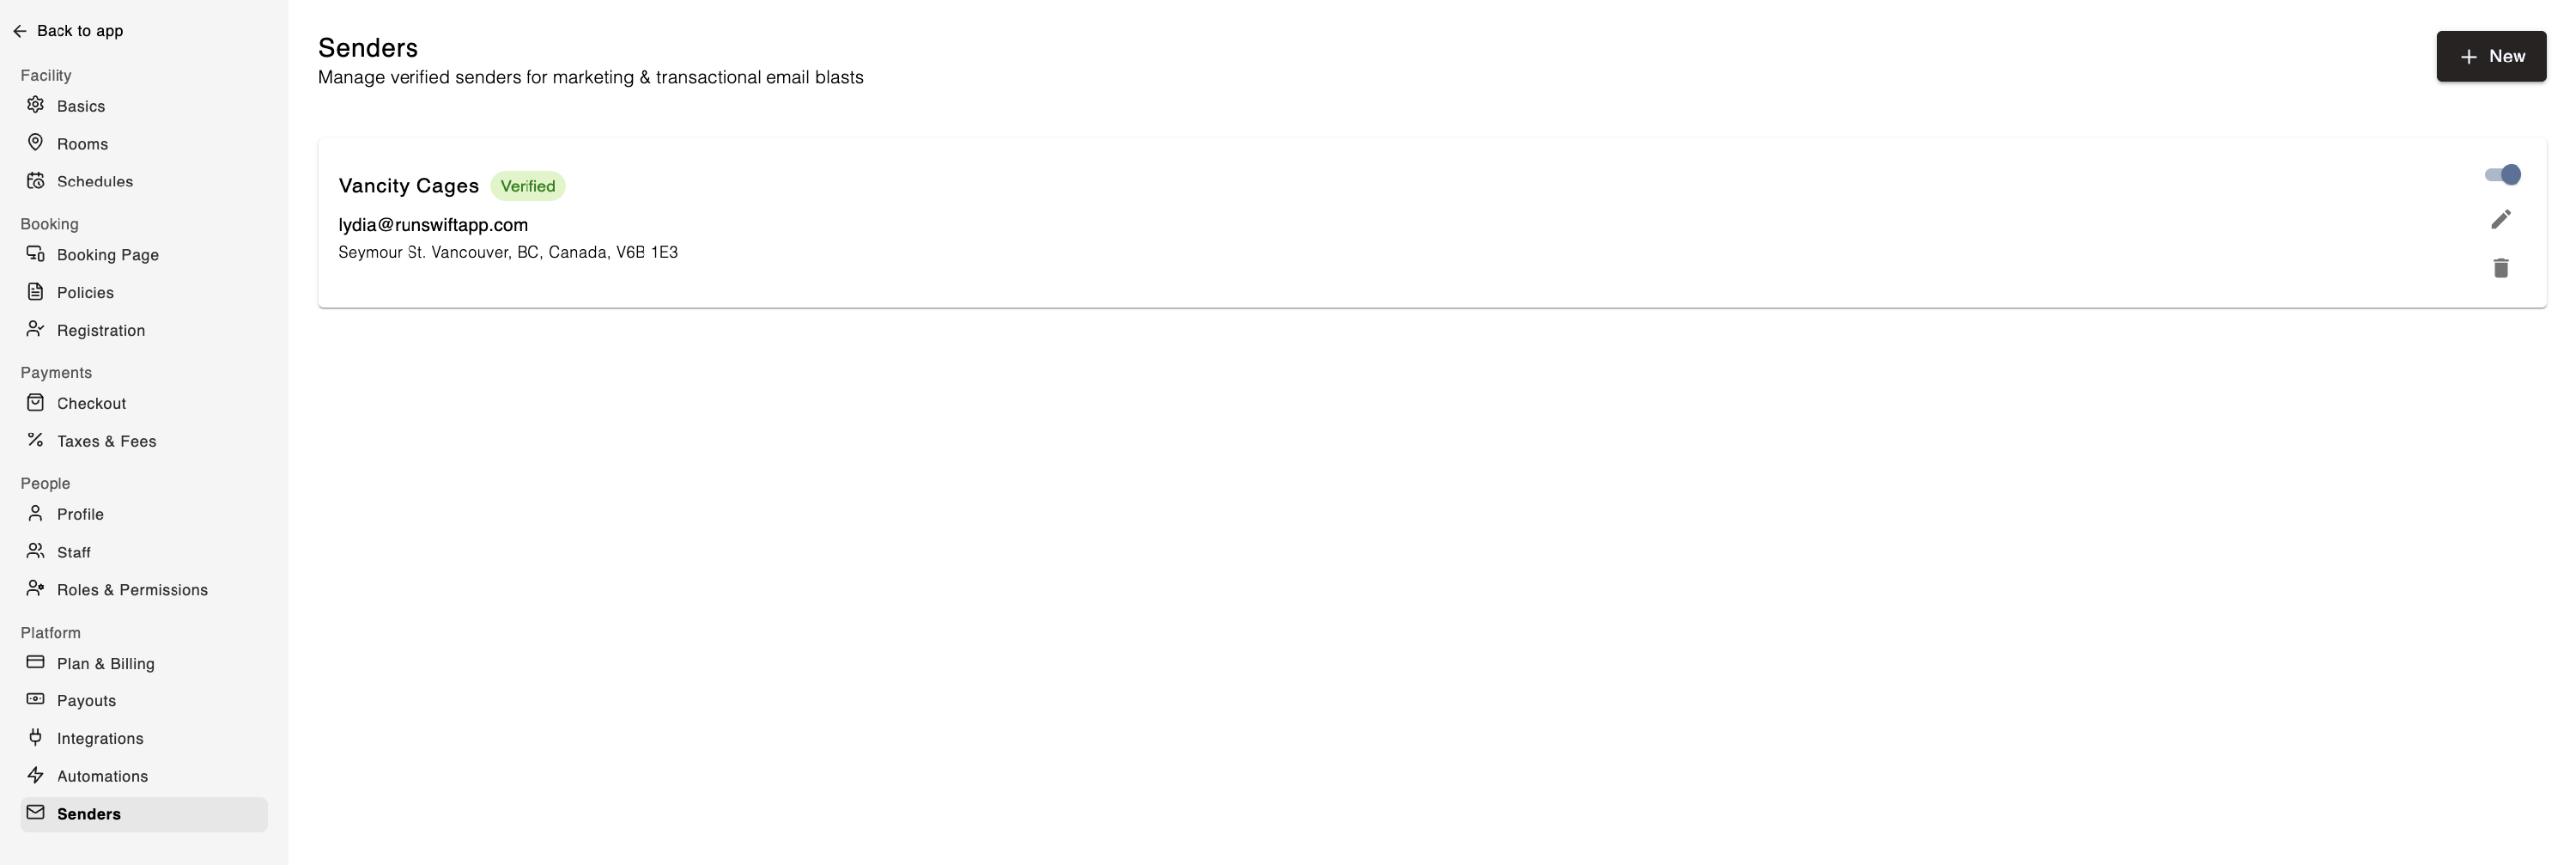
To setup your Sender in Swift Admin,
Go to Settings and, under the Platform category, select Senders
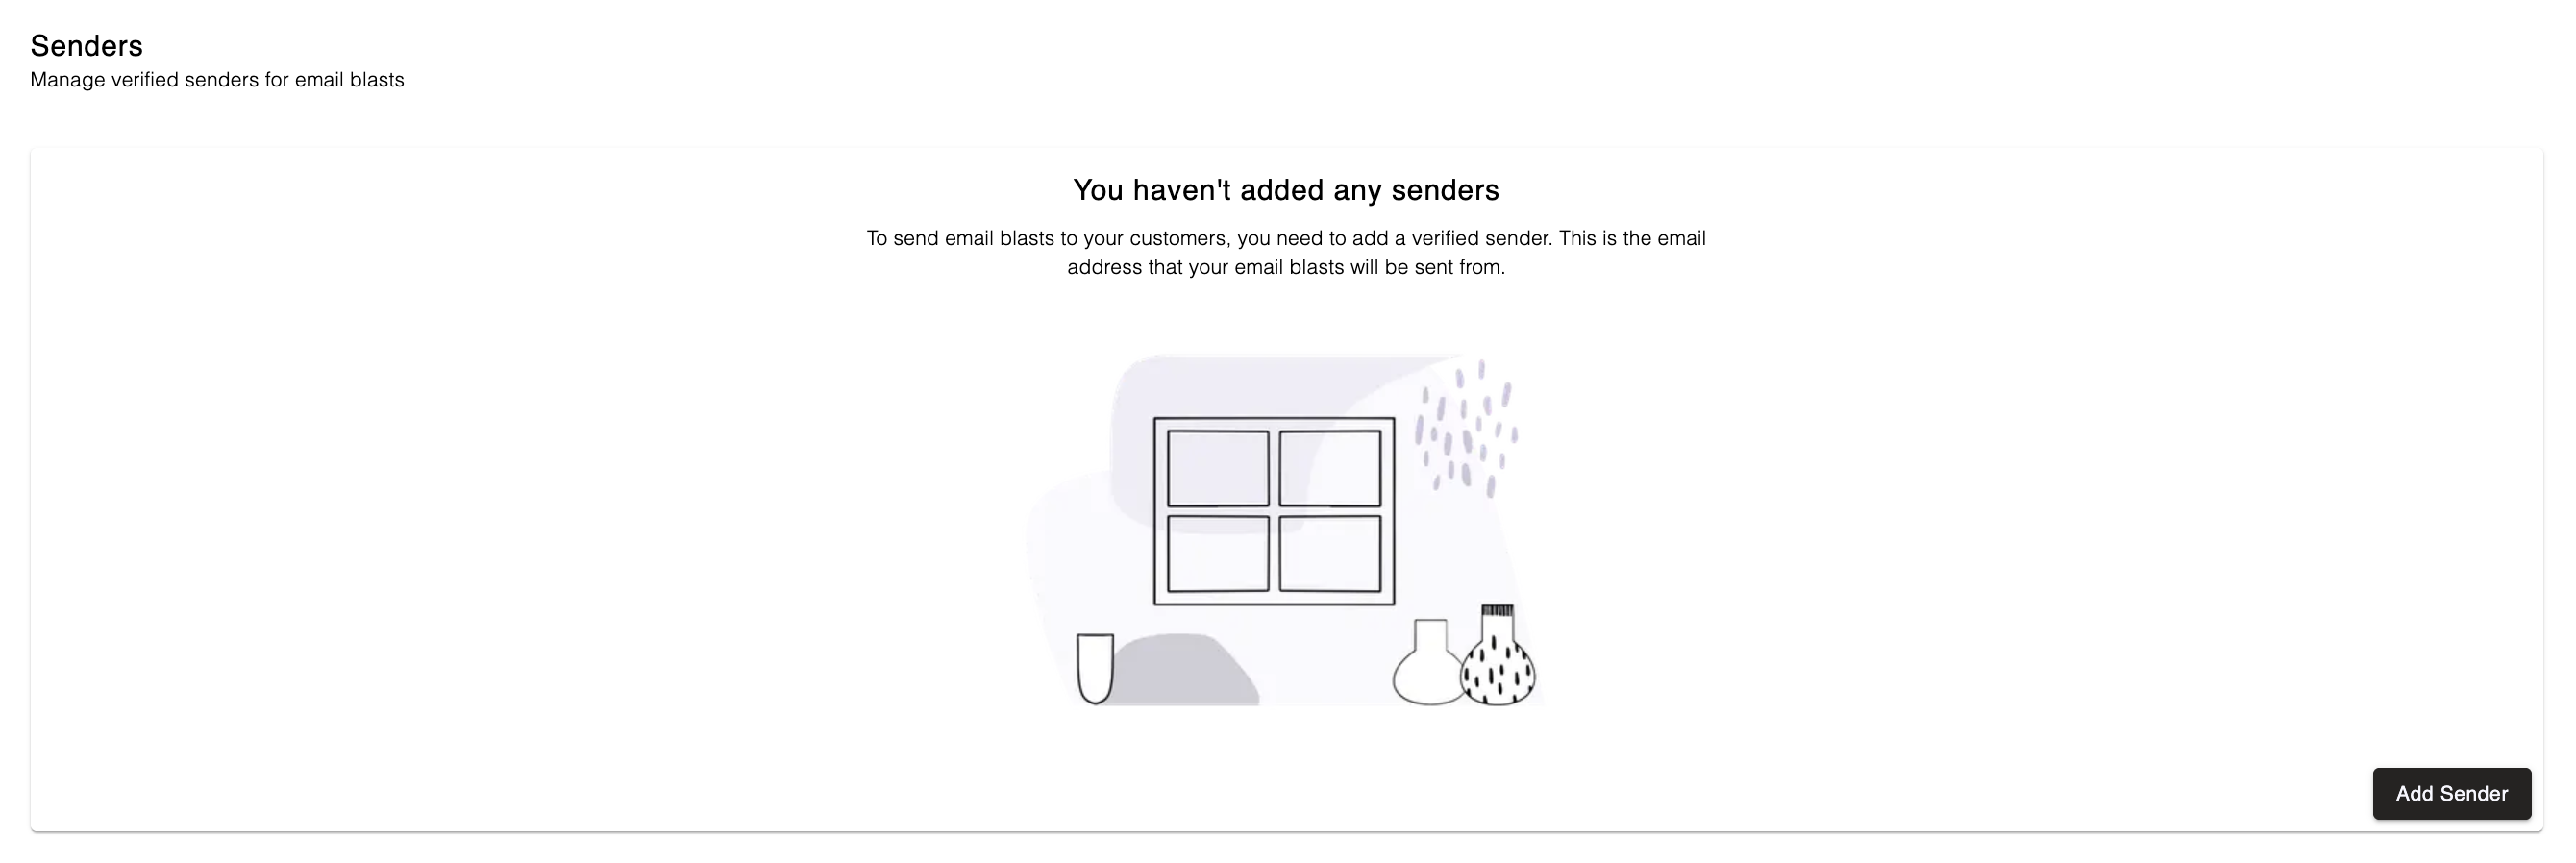
Click the Add Sender button
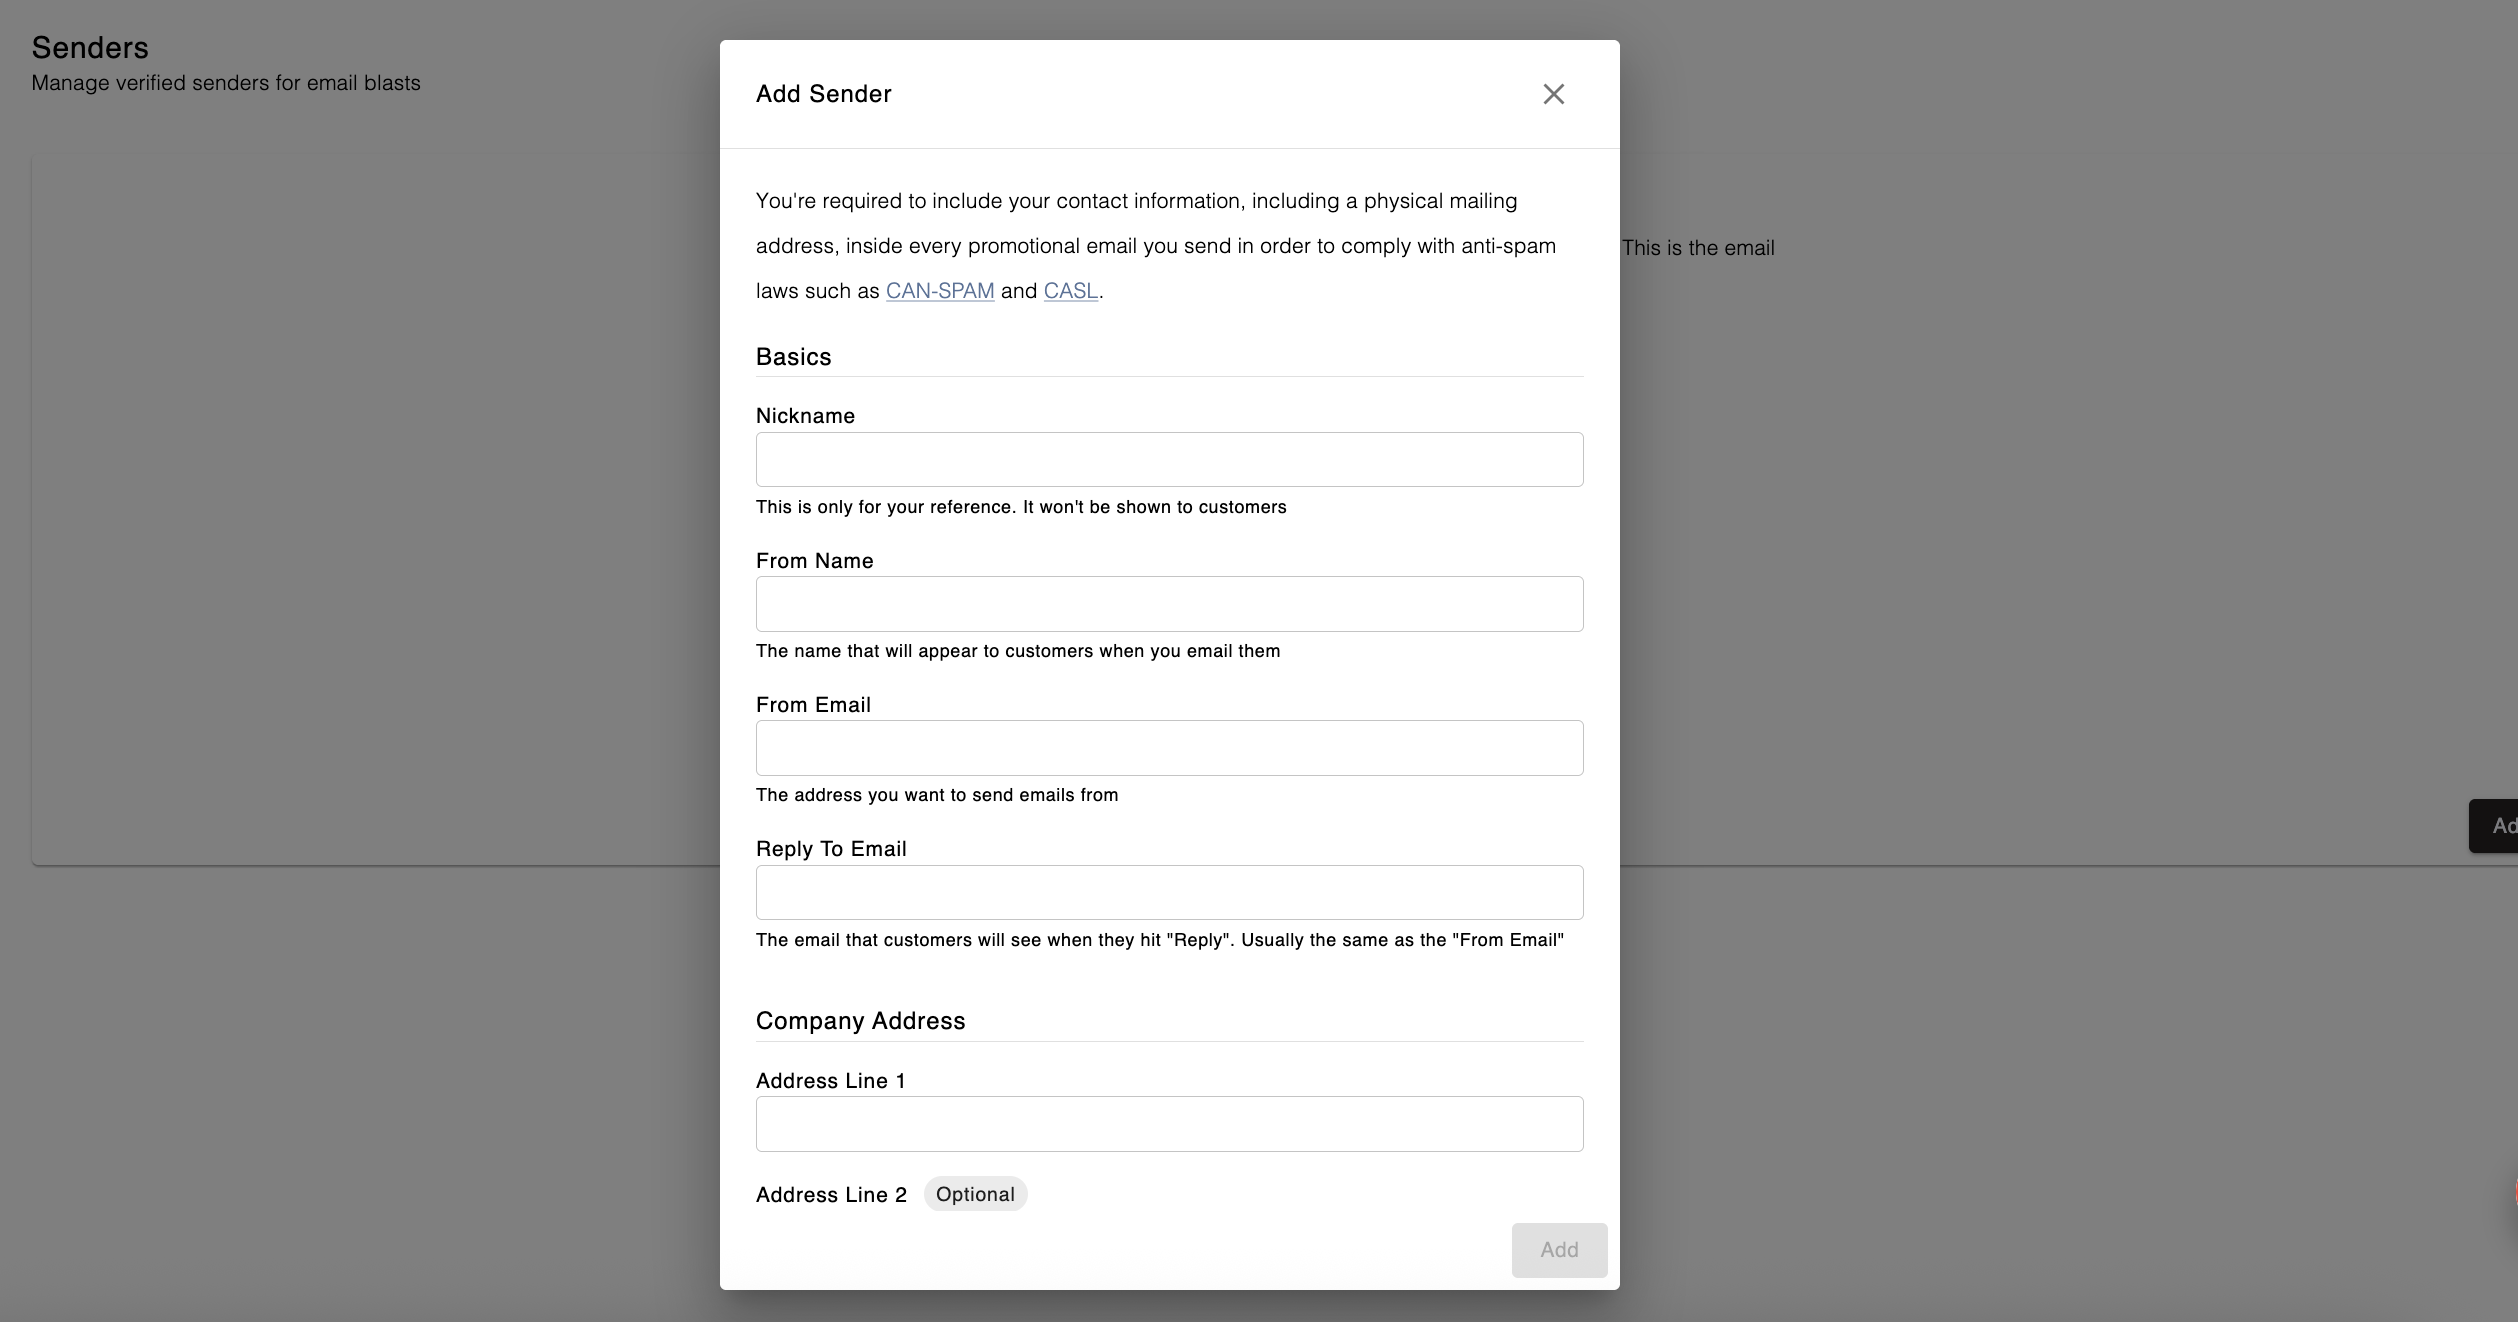
Fill out the Add Sender form with your facility's details.
Check your inbox for a verification email. Open the email and click on the link to complete the verification step.
Once verified, return to Settings > Senders page in Swift Admin.
Toggle your newly added verified Sender to ON
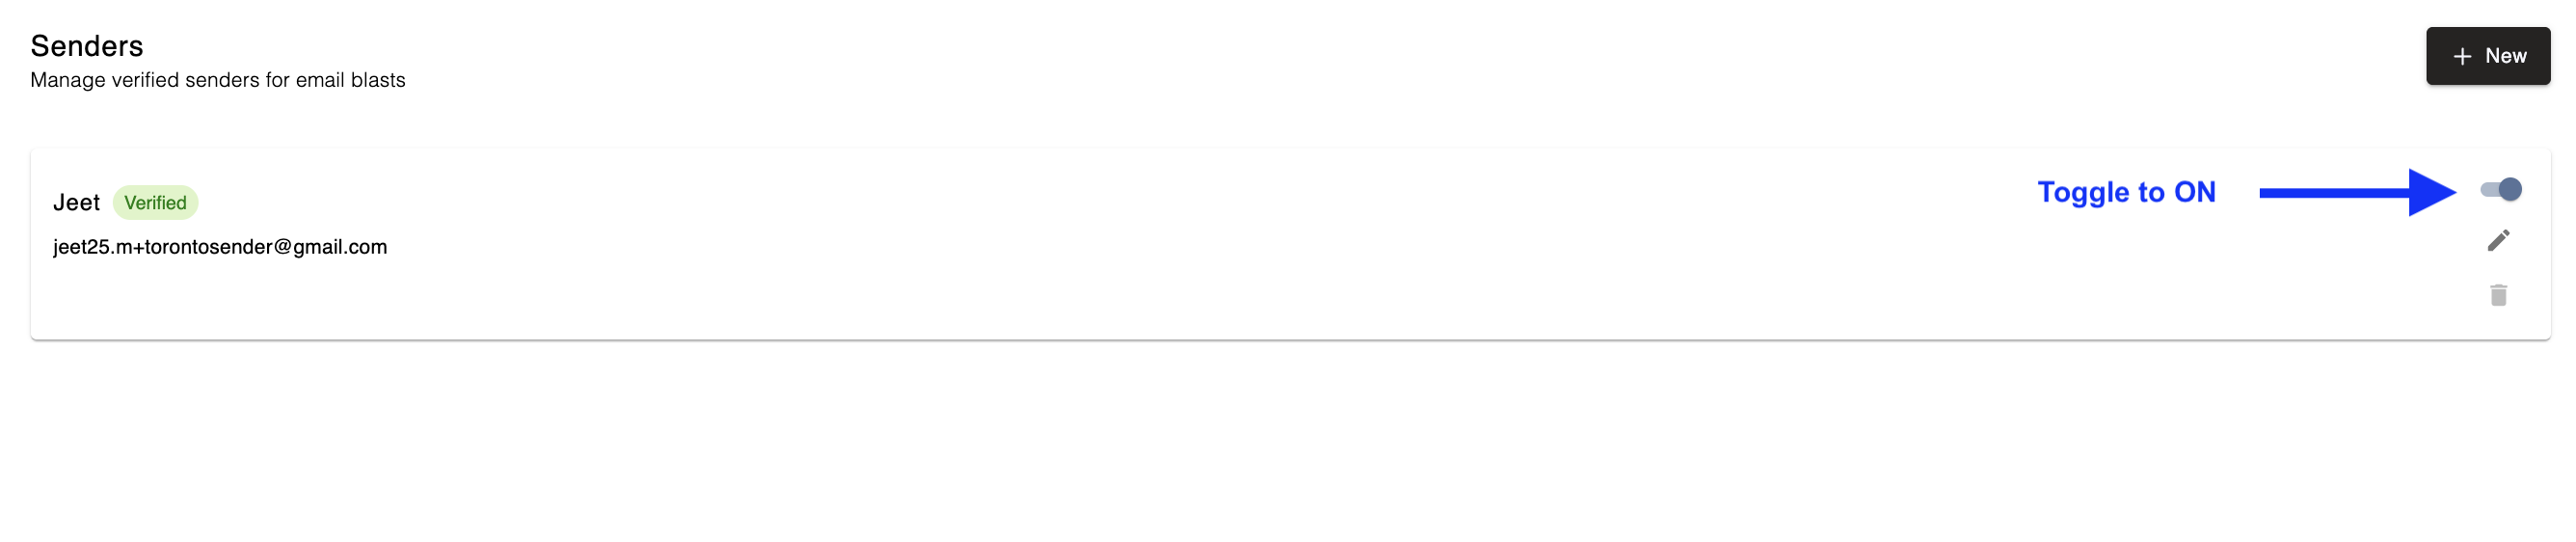
Once your Sender has been enabled, you can start sending out Email Blasts.